Adding a free chat widget to your website can greatly enhance user interaction and customer support. It allows visitors to reach out to you easily and get immediate answers. Here’s a step-by-step guide on how to install one.
I. Choose the Right Chat Widget Provider
- Research Available Options
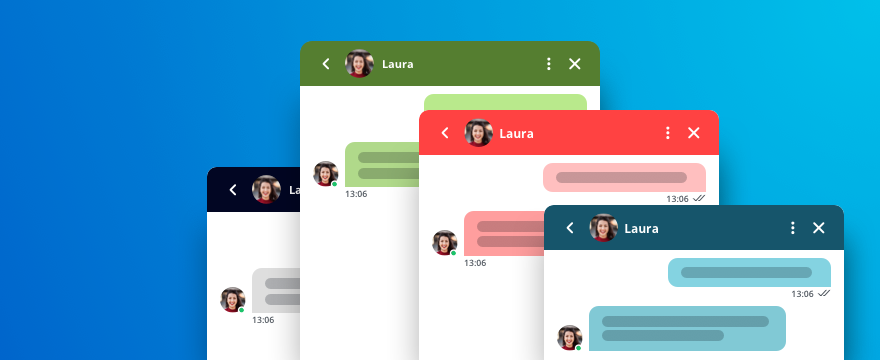
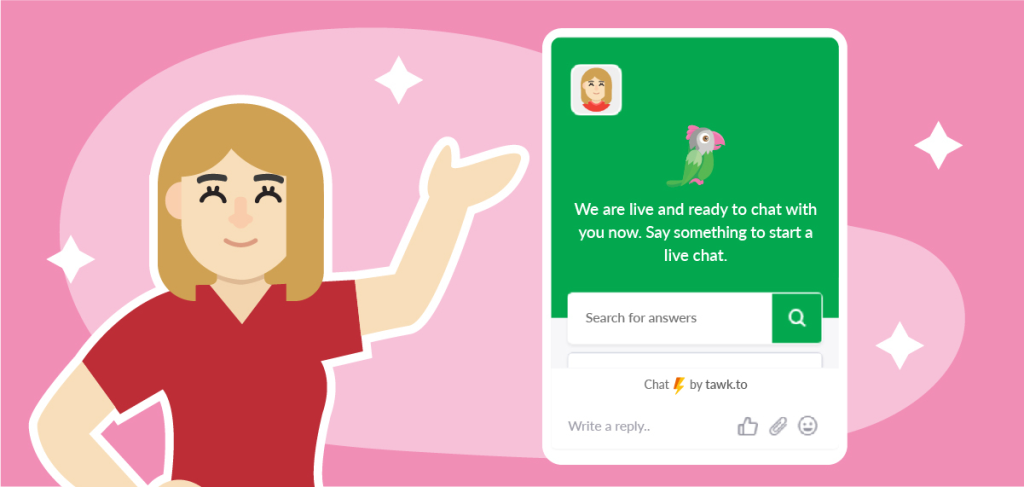
- There are numerous free chat widget providers in the market. Some popular ones include Tawk.to, WP Live Chat Support, and 3CX Live Chat.
- Look for reviews and testimonials from other website owners to understand which ones offer reliable service, good features, and ease of use.
- Consider Your Needs
- Think about what features are important for your website. Do you need basic text chat functionality, or would you like additional features like file sharing, chatbots, or integration with other tools?
- For example, if you run an e-commerce site, you might want a chat widget that can integrate with your inventory system to check product availability during a chat.
II. Sign Up for an Account
- Visit the Provider’s Website
- Once you’ve selected a chat widget provider, go to their official website.
- On the homepage, look for the “Sign Up” or “Get Started” button. It’s usually prominently displayed.
- Register Your Details
- Fill in the required information such as your email address, password, and sometimes your website’s URL.
- Some providers may also ask for additional details like your business name or the purpose of using the chat widget.
- Verify Your Account
- After registering, you’ll likely receive an email to verify your account. Click on the verification link provided in the email to activate your account.
III. Install the Chat Widget on Your Website
- Get the Installation Code
- Log in to your account on the widget provider’s platform. Navigate to the section where they provide the installation code.
- Usually, it’s a snippet of JavaScript code that you’ll need to copy.
- Access Your Website’s Backend
- Log in to your website’s content management system (CMS). If you’re using WordPress, for example, enter your admin credentials and go to the dashboard.
- For other platforms like Shopify or Wix, access the relevant area where you can edit the website’s code or add custom elements.
- Insert the Code
- In your website’s backend, find the appropriate place to insert the widget code. In WordPress, it could be in the “Header” or “Footer” section under the “Appearance” menu, depending on where you want the widget to appear.
- Paste the copied JavaScript code into the relevant area. Save the changes you’ve made.
IV. Customize the Chat Widget
- Appearance Settings
- Go back to your the widget provider’s dashboard. Look for the customization or appearance section.
- Here, you can change the color scheme of the chat widget to match your website’s branding. You can also adjust its size and position on the page.
- Chat Options
- Set up pre-chat forms if you want visitors to enter some information before starting a chat, like their name or email address.
- Configure automated greetings or responses for common questions to give users a quick reply when they first open the chat.
V. Test the Chat Widget
- Open Your Website as a Visitor
- Log out of your website’s admin account and open your website in a different browser or in an incognito window.
- Navigate through different pages to see if the chat widget appears in the right place and functions properly.
- Initiate a Chat
- Click on the chat widget to open it and send a test message. Check if you receive the message on the provider’s dashboard and if you can respond as expected.

Installing a free chat widget on your website doesn’t have to be complicated. By following these steps, you can add this useful feature to enhance communication with your website visitors and improve their overall experience. Regularly monitor and update the chat widget’s settings based on user feedback and your evolving business needs.


