1.Registration and Login #
- YouTube: Video Link
- Website: ShopMate Login
2.Create Your First Shopping Assistant Bot #
2.1 Shopify #
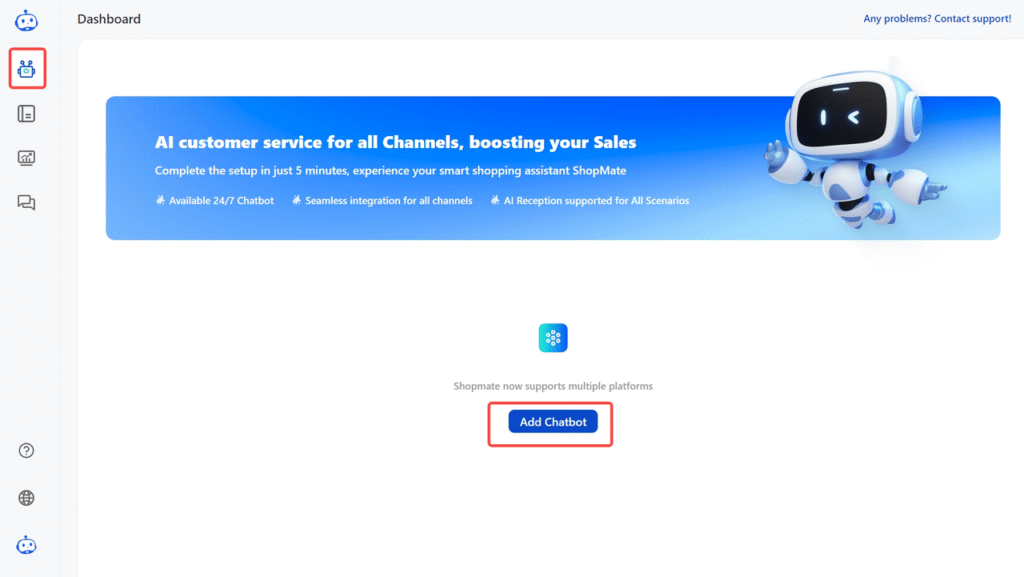
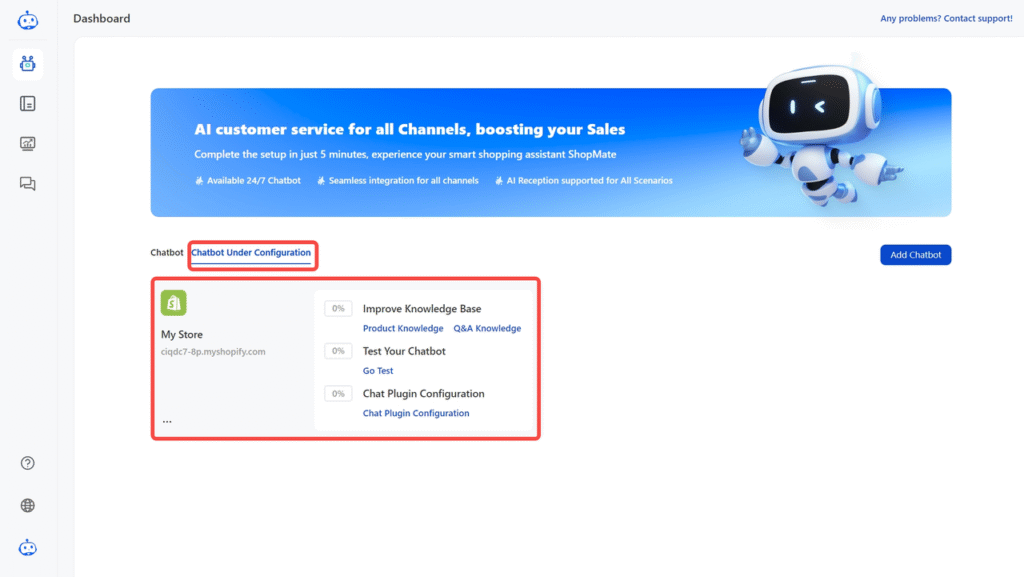
- Open ShopMate and click Add Chatbot on the dashboard.
- Click the Go to Authorization button.
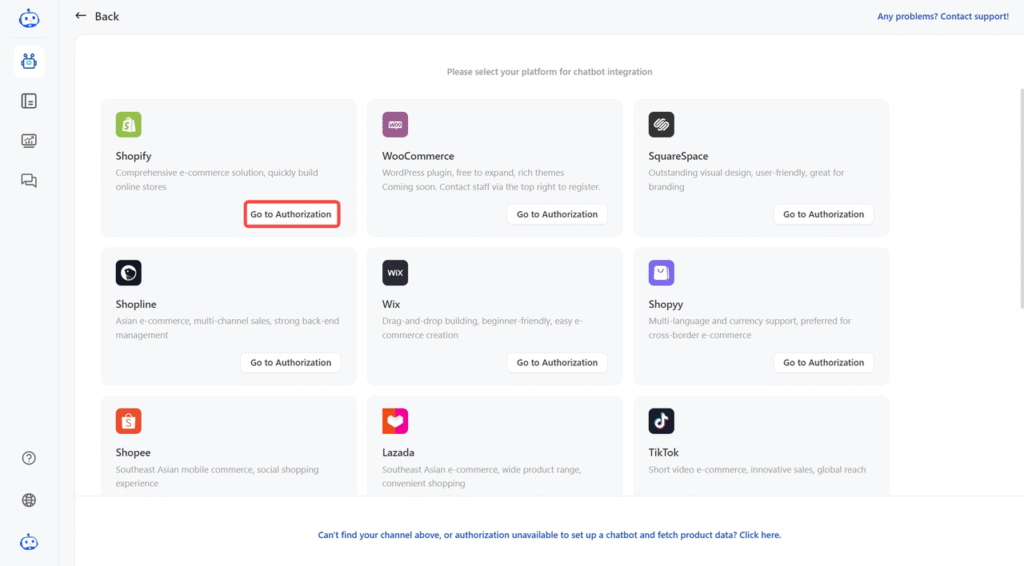
- Install ShopMate from the Shopify App Store.


- View the bot in “Chatbot Under Configuration“, and ensure ShopMate has automatically synchronized product knowledge, order data, and discount data from the platform and conducted corresponding AI training.
2.2 Square Space #
- View the bot in “Chatbot Under Configuration“, and ensure ShopMate has automatically synchronized product knowledge, order data, and discount data from the platform and conducted corresponding AI training.

- Open ShopMate and click Add Chatbot on the dashboard.

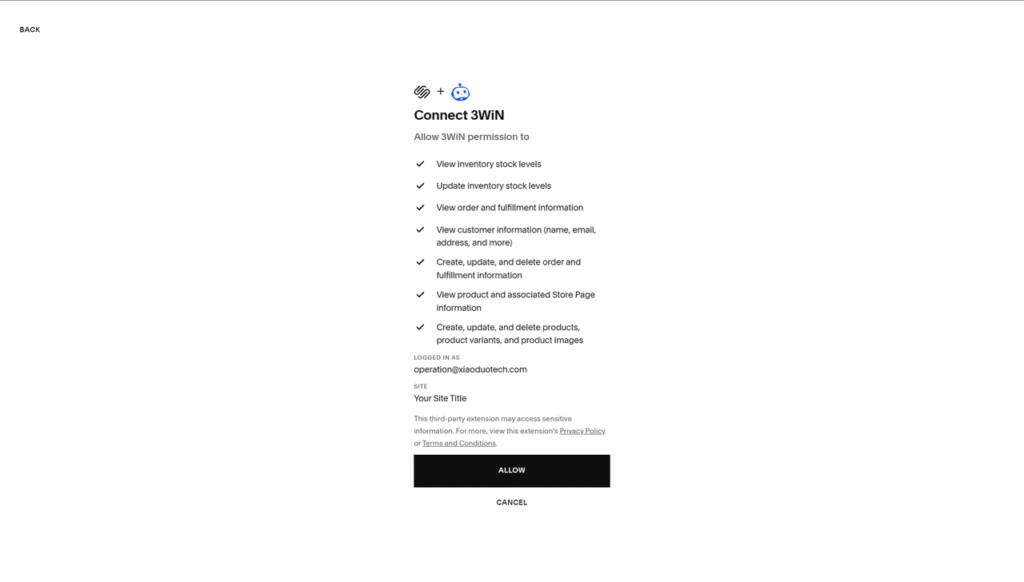
- Click the Go to Authorization button.

- Click “ALLOW”.
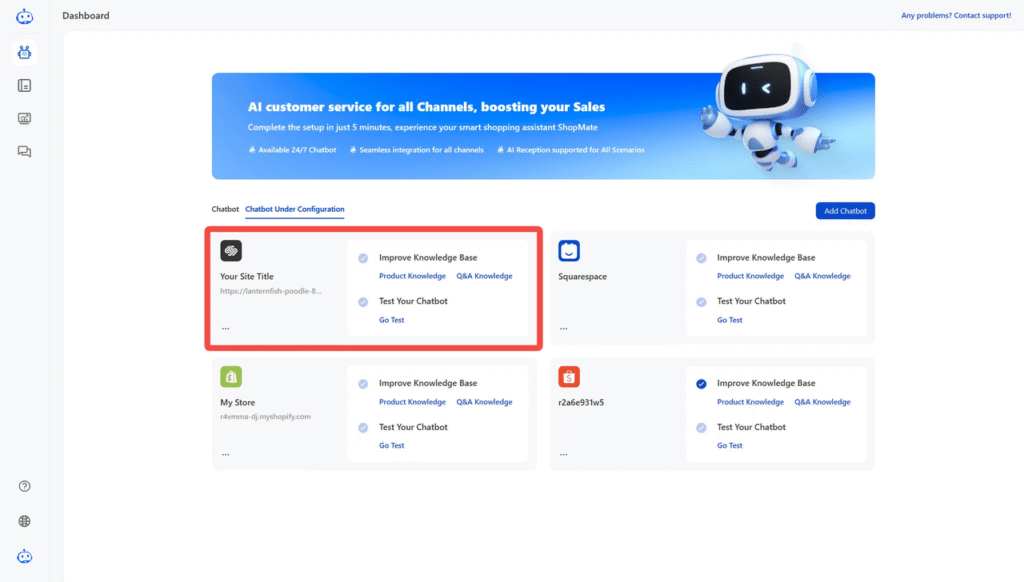
- After installation is complete, it will be automatically redirected. Shopfront managers can view their newly added bot under ‘Chatbots in Configuration’. At this point, ShopMate has automatically synchronized product knowledge, order data, and other data from the platform and performed the corresponding AI training.
3.Alignment with Store Style & Branding #
3.1 Import Q&A Knowledge #
- Train your Chatbot with FAQs that are frequently asked.
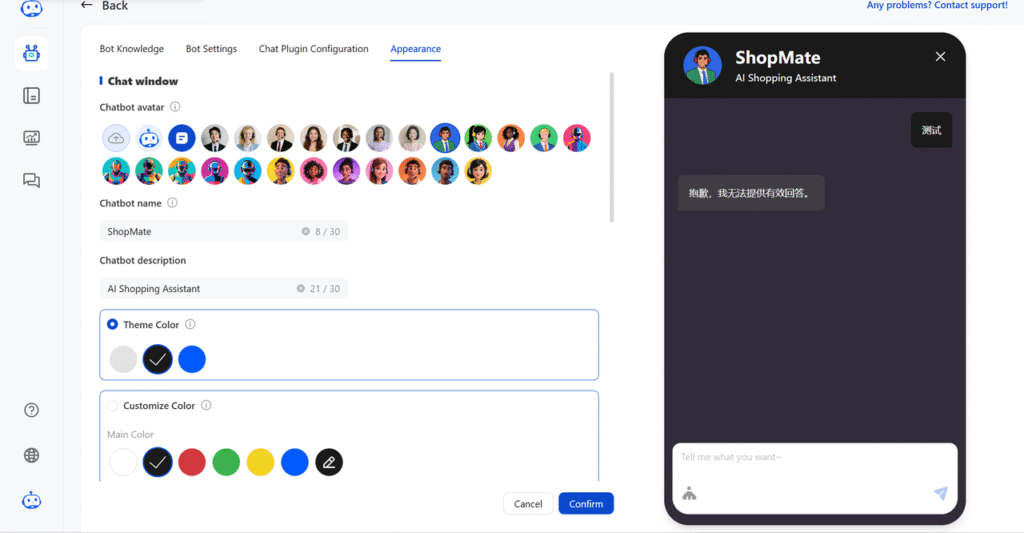
3.2 Visual Consistency #
- Customize your chatbot’s appearance to seamlessly match your website’s branding and tone. For merchants, this makes the AI assistant feel like a natural extension of your brand, rather than a disconnected third-party plugin.
- We provide customization options for appearance color, avatar, name, introduction, entry position, and interaction effects. In some key areas, we also offer quick-start templates to help ensure a consistent and cohesive visual integration with your site.

3.3 Welcome Message #
- You can customize the default welcome message to match your store’s overall style and brand tone under “Chatbots in Configuration > Bot Settings > Dialogue Script Config > Welcome Message.” This helps you create a positive first impression with your customers.
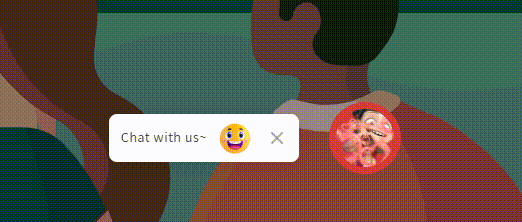
For example: Hi~ I’m Sally, your sweet little shopping buddy! 🛍️✨ Just talk to me about anything, anytime! 💖
With this setup, when a customer clicks on the bot, it will automatically greet them.

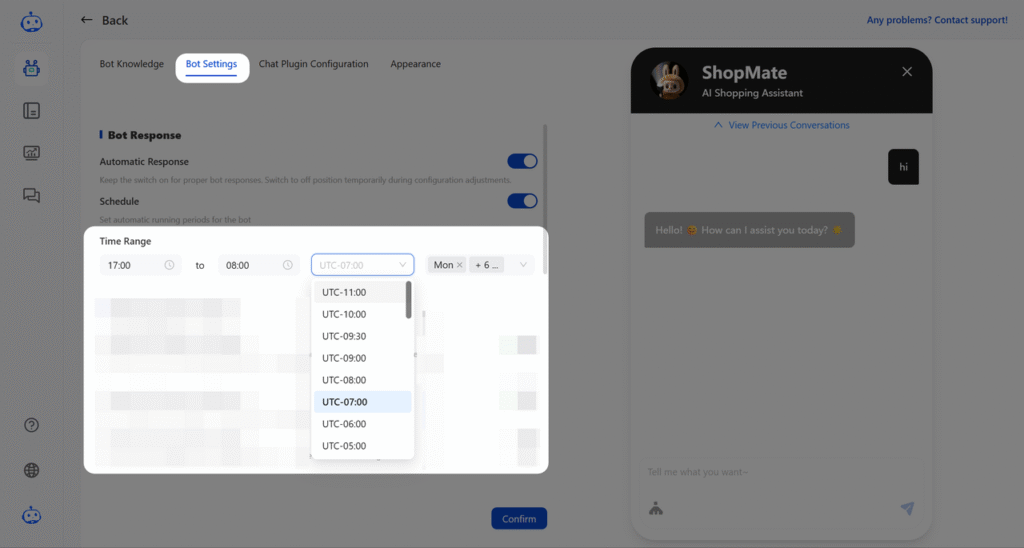
3.4 Bot Availability Hours #
- You can choose when the chatbot plugin should appear on your website, allowing flexible usage of ShopMate based on your business needs—for example, enabling it only on weekends or during high-traffic periods.
3.5 Pre-Chat Lead Collection: #
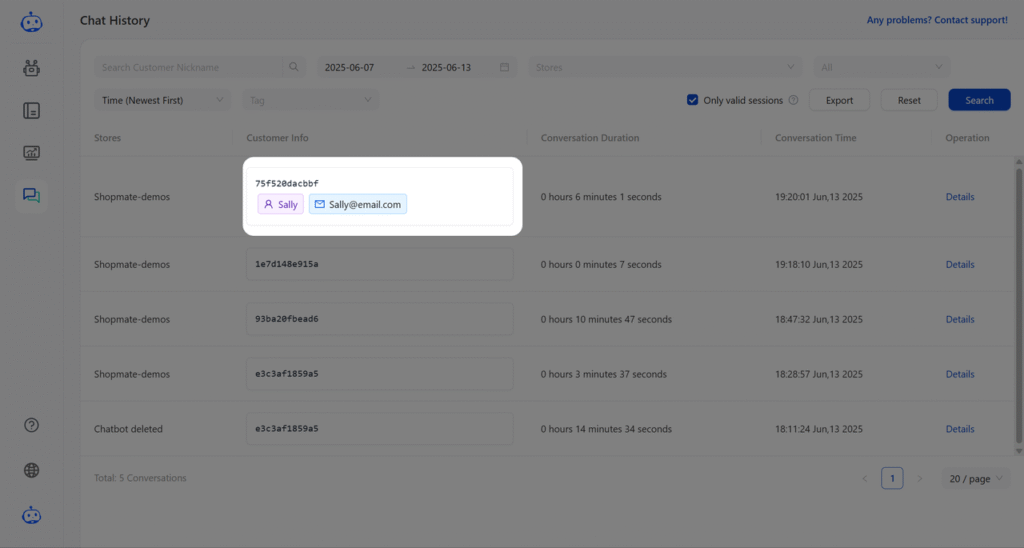
- Pre-chat lead collection can be enabled to collect user information—such as email, phone number, WhatsApp, or name—before they start a conversation or send a message. Only one field is required to proceed, ensuring a smooth experience while helping merchants accumulate valuable lead data for future marketing. Customer service agents can also tagcustomers for easier and more refined customer management.

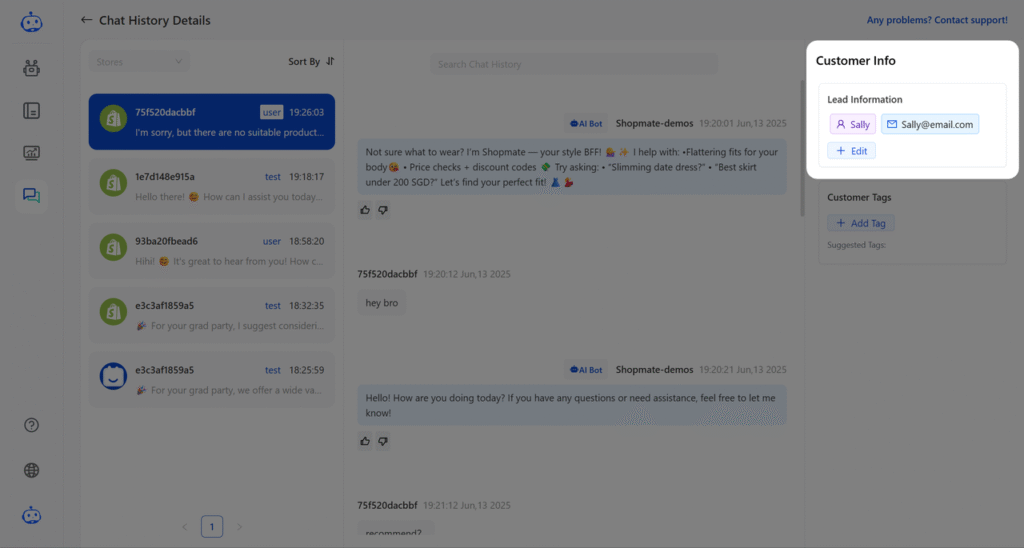
- You can view all collected lead information from customers directly within the chat records. Whether you’re looking at the chat list or individual conversation logs, customer details are clearly displayed for easy access.