
Before proceeding with this step, please ensure that you have completed creating the bot (see II. Quick Start). The following will demonstrate how to enable the created bot on your website.
1.Shopify #
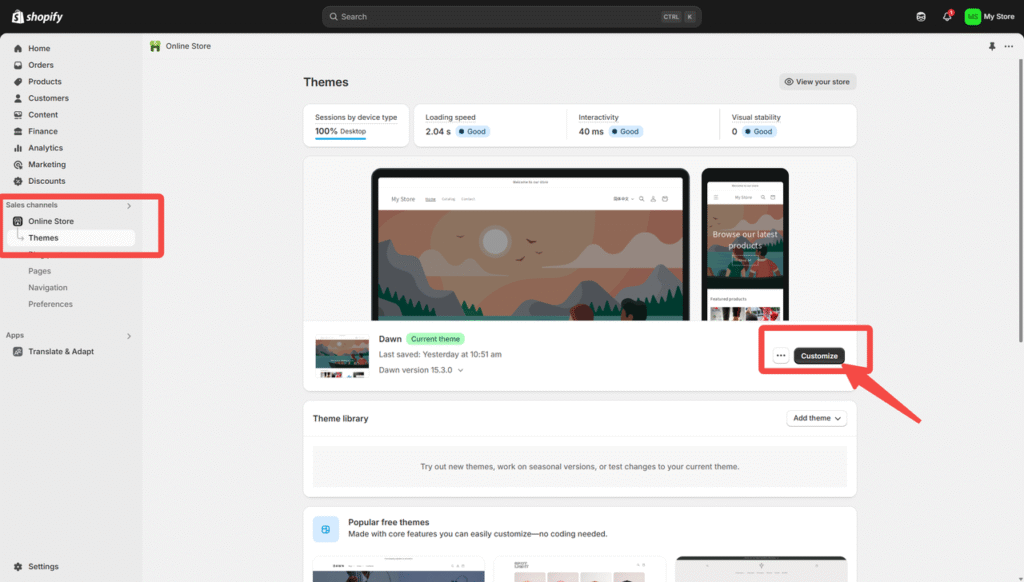
- In the Shopify admin panel, go to the App Store “Online Store”, click “Themes”, then click “Customize”.
- Find “Chatbot Embedding” in “More Apps”
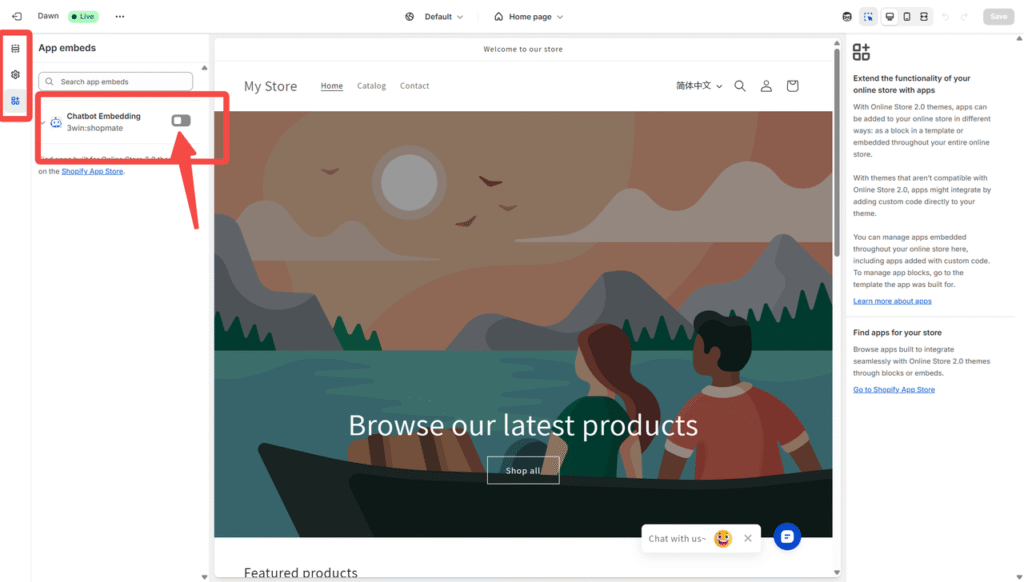
- Enable the “Chatbot Embedding” and Save.

- Refresh the Storefront and it will appear in a few seconds.

2.SquareSpace #
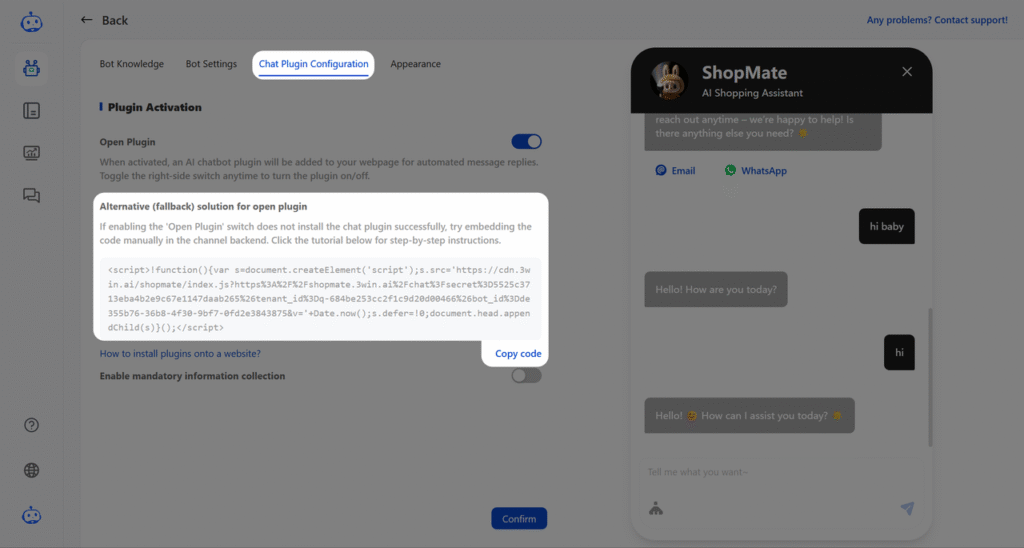
- Copy the script from the ShopMate backend.

- Log in to the SquareSpace backend and select the store where you want to install the Bot.

- Click “Page”

- Find “Website Tools”

- Click “Code Injection”

- Paste the script from ShopMate backend into “HEADER”, then click “SAVE”
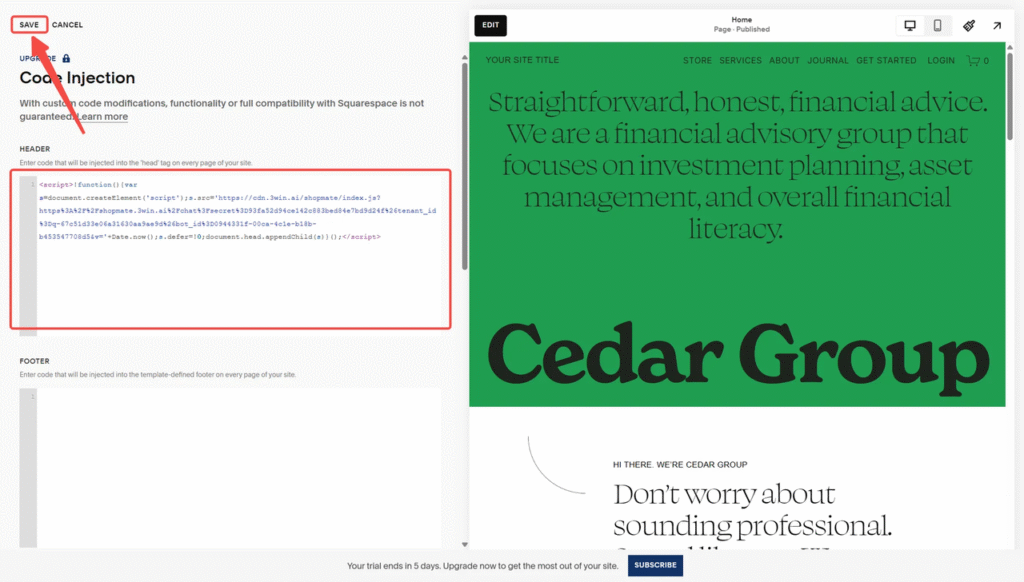
- Refresh the Storefront and it will appear in a few seconds.

3.Woocommerce #
- Copy the script from the ShopMate backend.
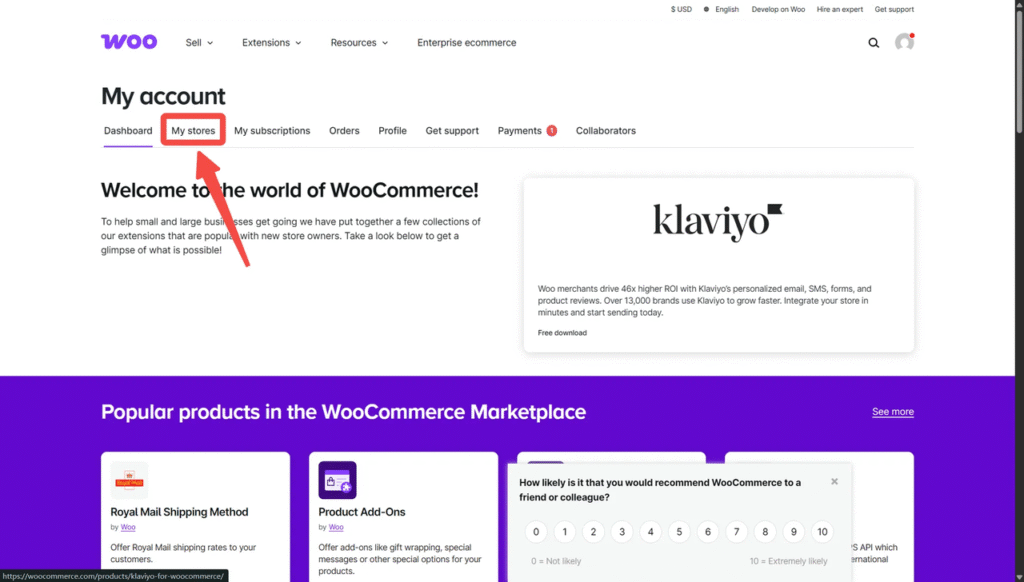
- Log in to the Woocommerce and Click “Manage Stores” from “My Stores”
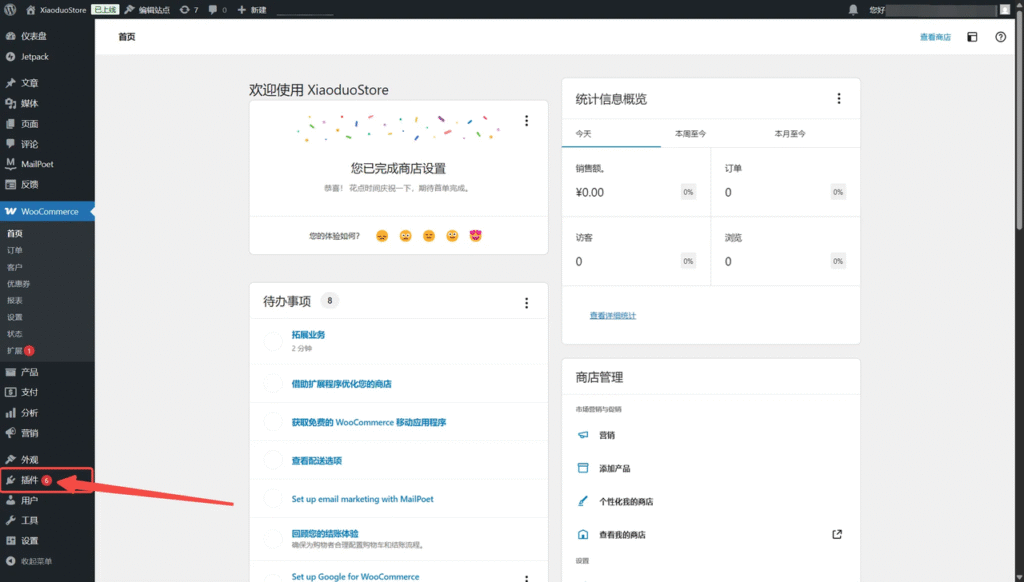
- Click “Add New Plugin” and install “Insert Headers And Footers”
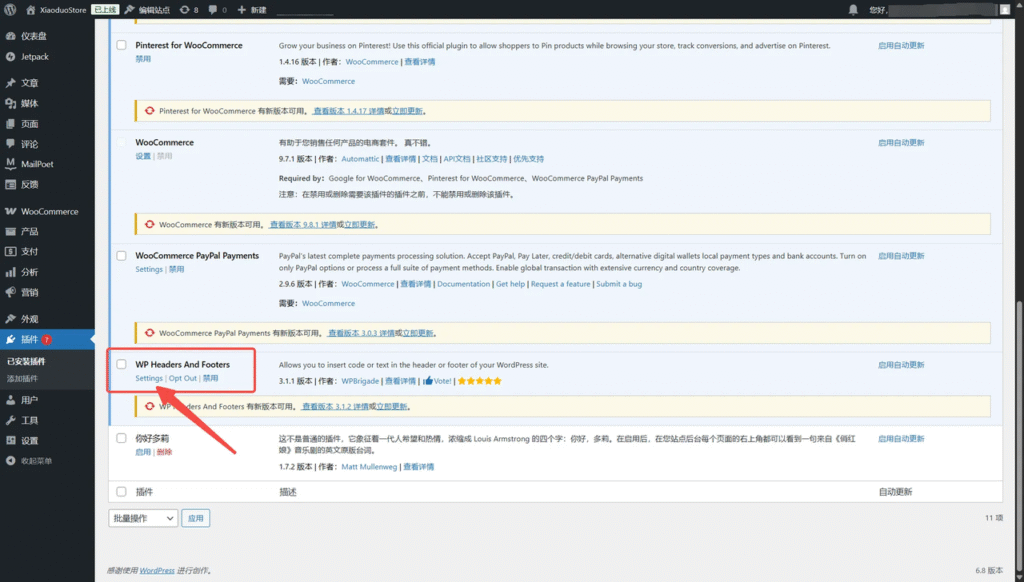
- Click “Activate”

- Click “Settings”
- Paste the script from ShopMate backend to “Scripts in Header”

- Scroll down and click “Save Changes”
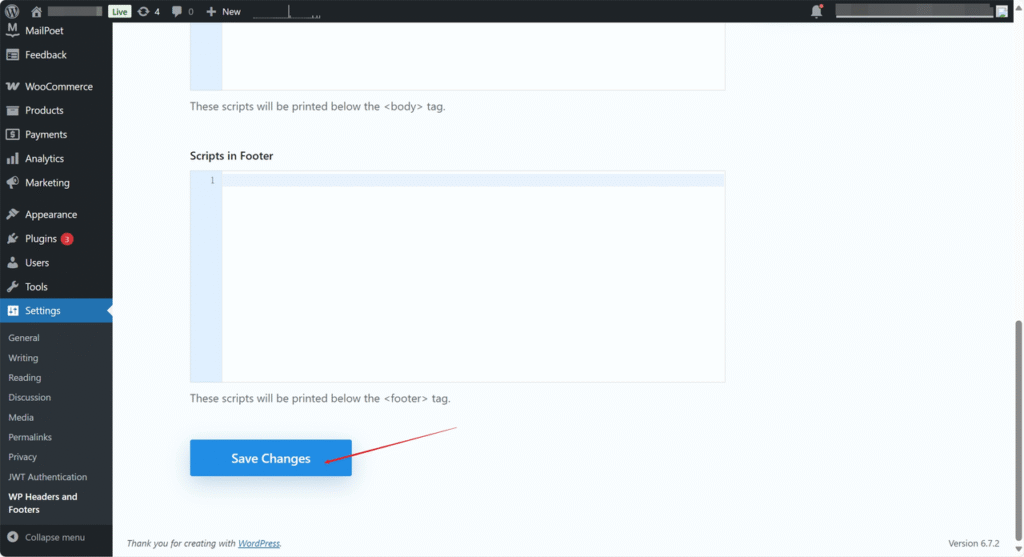
- Refresh the Storefront and it will appear in a few seconds.
